An SSL certificate turns on HTTPS for your website: it proves the identity of your server and encrypts traffic with your visitors. In the Apanel console, the SSL security page lets SwissCenter take care of it with Let's Encrypt (free), install a certificate you bought, or generate a self-signed certificate for one special case.
In short: on our current servers, Let's Encrypt is enabled by default and renewed automatically: nothing to do if the domain points to our servers. For a certificate you bought: Hosting management, SSL security, Install certificate.
Requirements
- The domain must point to our servers: a certificate can only be issued for a name that answers from us. See the article on DNS records.
Open the SSL security page
- Log in to your Apanel console.
- From the dashboard, click your domain name to open Hosting management.
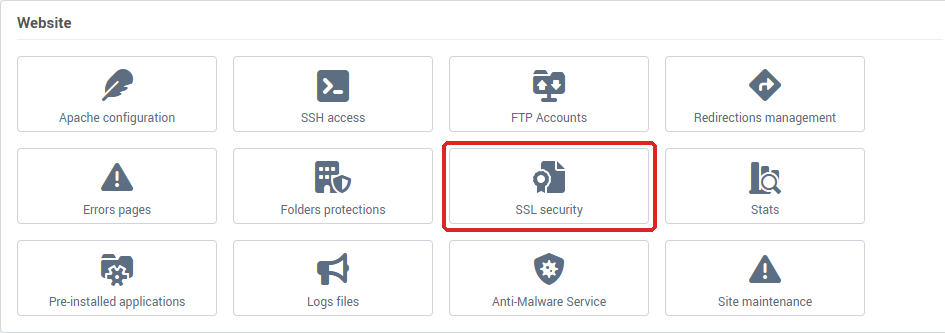
- In the Website card, click SSL security.
The Security modes page shows what your server offers.
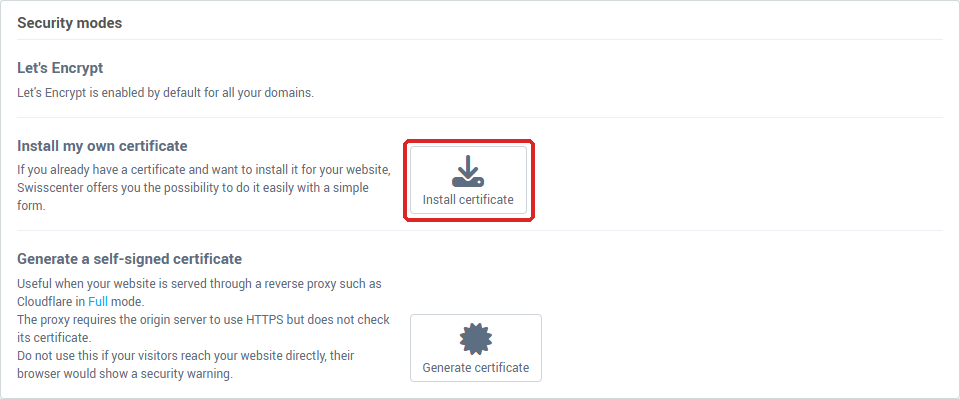
Is Let's Encrypt enabled by default?
On our current servers, Let's Encrypt is enabled by default for all your domains: the certificate is issued and renewed automatically, and there is nothing for you to do. The page shows no button for this mode.
If your website sits behind a proxy such as Cloudflare, see the Troubleshooting section below.
On an older server
On an older server, the page shows an Activate service button under Let's Encrypt. The idea is the same, but you turn it on yourself:
- Click Activate service.
- In the Let's Encrypt block, set Enable certification to on.
- Tick the Domain(s) to certify. If the list is empty, the domain does not point to SwissCenter.
- Click Save.
The message The request to activate your certificate has been sent appears: the operation can take up to 5 minutes. Once the certificate is issued, the page offers to turn on automatic redirection to HTTPS (see below).
When should I install my own certificate?
Choose this only if you already bought a certificate from a certificate authority, for example for organization validation.
What you need
The certificate authority gives you, or has you generate, several items:
- the main certificate (
.crt file);
- the private key (
.key file), created together with the certificate request. It stays secret: give it to nobody except this form;
- the intermediate certificate, if the authority provides one (a second
.crt file).
To create the certificate request (CSR) and the private key yourself, the usual OpenSSL command is:
openssl req -new -newkey rsa:2048 -nodes -keyout yourdomain.key -out yourdomain.csr
The .csr file is the one you send to the certificate authority; the .key file stays with you.
Install the certificate
- On the SSL security page, click Install certificate.
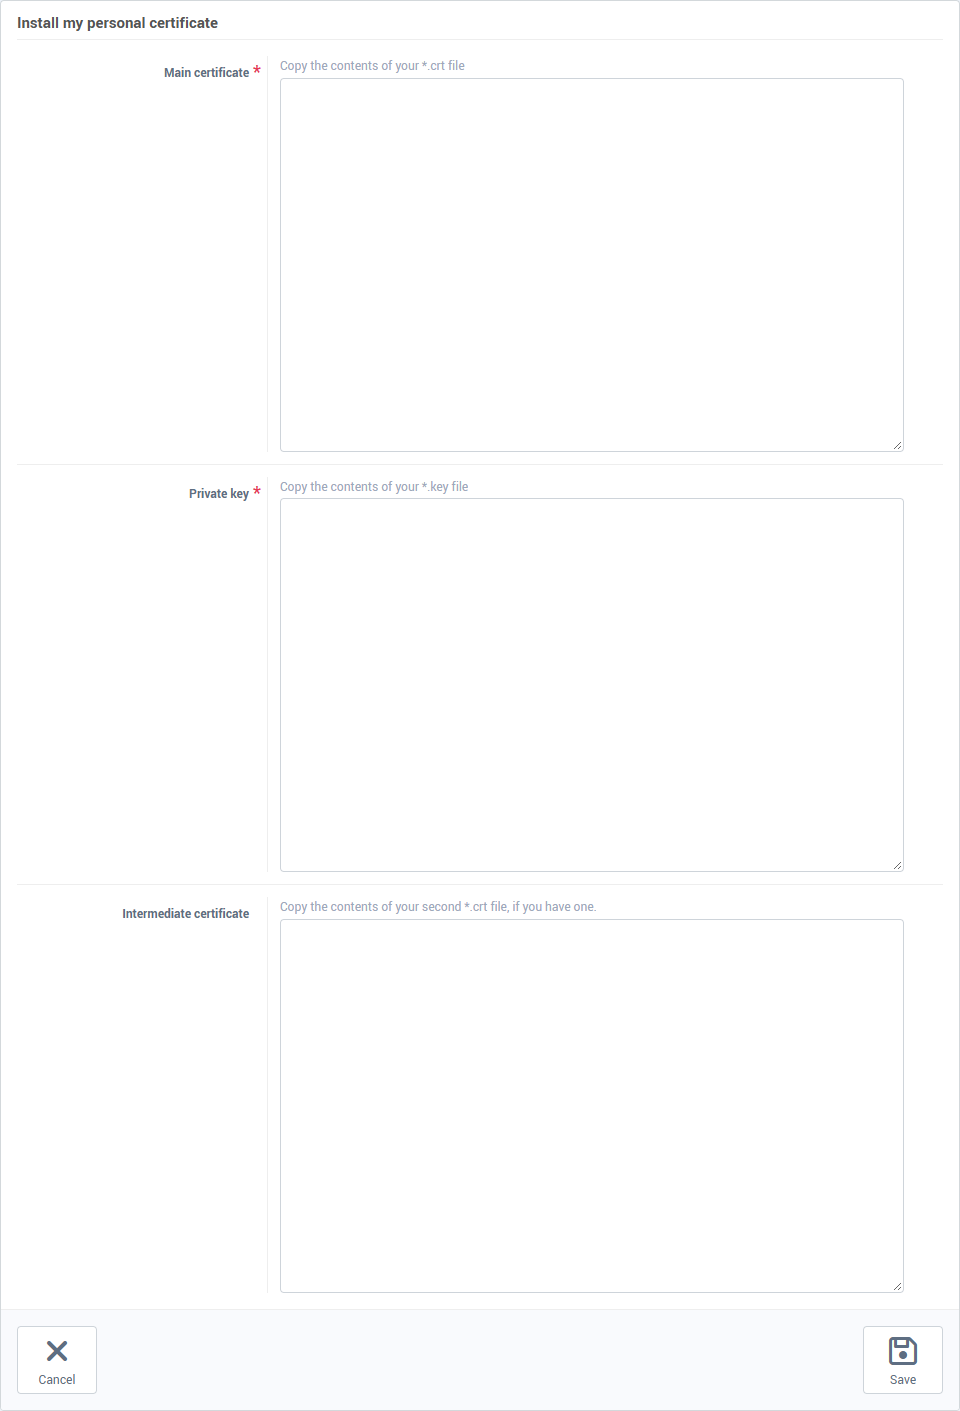
- In Main certificate, paste the contents of your
.crt file, from -----BEGIN CERTIFICATE----- to -----END CERTIFICATE----- included.
- In Private key, paste the contents of your
.key file.
- In Intermediate certificate, paste the contents of your second
.crt file, if you have one. This field is optional.
- Click Save.
Once the certificate is installed, the page shows its contents: the site name, the authority that issued it, the expiry date and the names it covers. Remember to renew it before that date: a personal certificate is not renewed automatically.
The Uninstall the certificate button (with a confirmation) removes the personal certificate.
When should I generate a self-signed certificate?
This mode is meant for a website served behind a reverse proxy, for example Cloudflare in "Full" mode. The proxy requires our server to answer over HTTPS, but does not check the certificate. Click Generate certificate and confirm: it is installed as your personal certificate and covers every name of the website.
Do not use this mode for a website that visitors reach directly: visitors who do not go through the proxy would see a security warning in their browser.
How do I redirect visitors to HTTPS?
A certificate alone does not send all your visitors to HTTPS. To redirect http:// to https:// automatically, follow the article Force HTTPS on your whole site.
Also fix the links, images, scripts and stylesheets in your pages that still call an http:// address: a single resource left on HTTP is enough to trigger a browser warning ("mixed content").
Troubleshooting
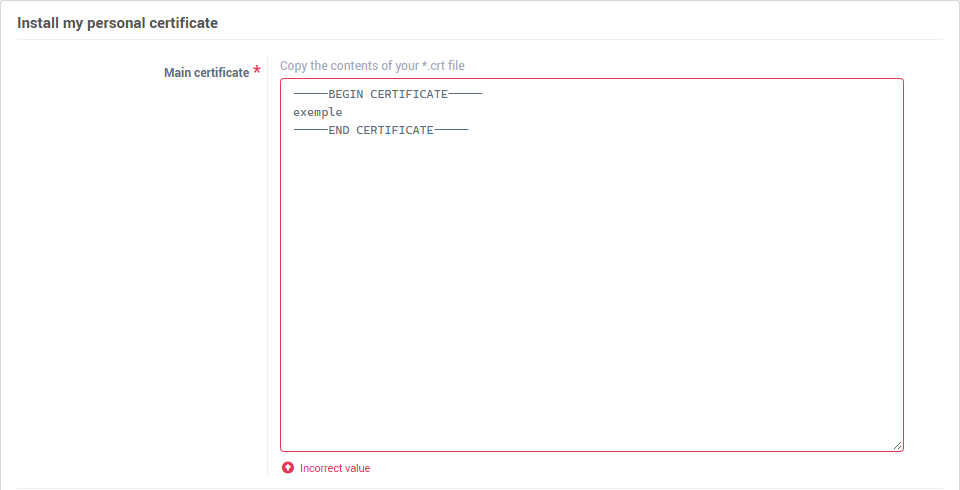
- "Incorrect value" under the certificate or the key: the form checks that the certificate is readable, that the private key matches this certificate and, if you provide one, that the intermediate certificate is readable. Paste each file in full, with no added space or cut line, and check that the key is the one generated with the certificate request.
- The browser reports an invalid certificate on a site behind Cloudflare or another proxy: the automatic Let's Encrypt certificate cannot be issued when the name points to the proxy and not to our servers. Use the self-signed certificate described above, with the proxy's "Full" mode.
- The list of domains to certify is empty (older server): the domain does not point to SwissCenter. Fix the DNS first.
- The site still loads over HTTP: the certificate does not redirect by itself. See the previous section.
- To see the certificate your visitors receive, analyze your domain with diag.swisscenter.com (the tool is in French): in the Site web (TLS & HTTP) card, the Certificat TLS (443) section says Valide (valid) with the number of days left, the Émetteur (issuer) and the names covered (Noms (SAN)), or Refusé par un navigateur (refused by a browser) with the Motif (reason: expired certificate, name not covered, incomplete chain). The tool removes
www. from the name you enter: it checks the domain without www. See Diagnose your domain and email with the SwissCenter diagnostic tool.
If the problem persists, contact our support and give the domain name.
Going further