A scheduled task (or cron job) automatically runs a script from your hosting at regular intervals: sending a newsletter, emptying a cache, making a backup, importing data. In the Apanel console, the Scheduled tasks screen lets you choose the script, how often it runs, and the address that receives whatever the script prints.
Requirements
What to know before you start
- The script is run directly, like a program. Its first line must therefore say what runs it:
#!/usr/bin/env php73 for a PHP 7.3 script (the number is the PHP version without the dot), #!/bin/sh for a Bash script. The Add scheduled task page shows the exact line for the PHP version of the domain you came from.
- Tasks belong to your account, not to a domain: the list is the same whichever domain you open the page from.
- The minimum frequency is one run every 2 minutes. The Minute field cannot be
* or */1.
- Without a notification address, whatever your script prints is discarded. To receive the messages your scripts produce (errors included), set a notification address (see below).
- Scheduled tasks count towards your hosting's Number of processes, just like web requests: when the limit is reached, no new process can start.
Open the Scheduled tasks screen
- Log in to your Apanel console.
- From the dashboard, click your domain name to open Hosting management.
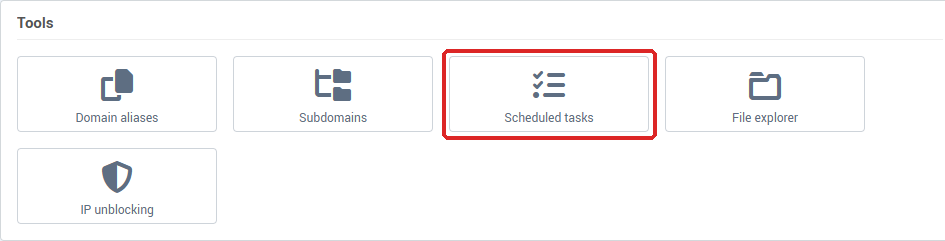
- In the Tools card, click Scheduled tasks.
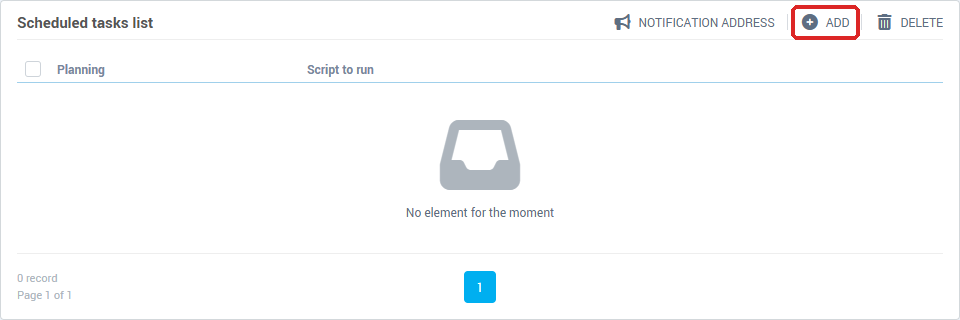
The Scheduled tasks list shows, for each task, its Planning (the five cron fields: minute, hour, day, month, day of the week) and the Script to run with its full path.
Add a task
- Click Add.
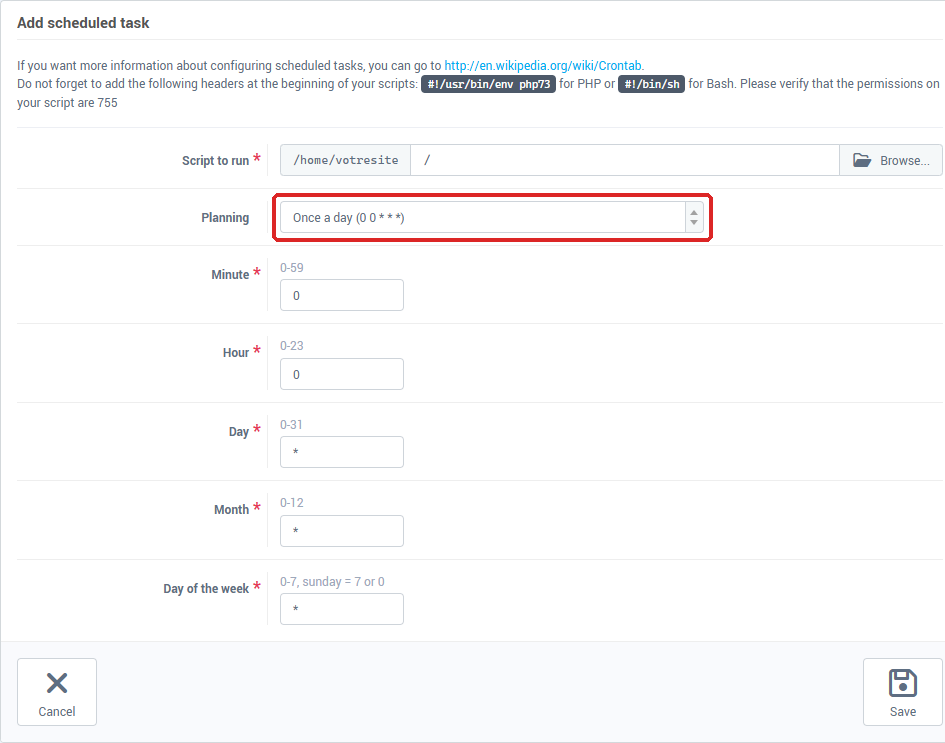
- In Planning, pick a schedule from the list: Every 5 minutes, Every 15 minutes, Twice an hour, Every hours, Twice a day, Once a day, Once a week, Once a month, Twice a month or Once in a year. The matching cron expression is shown in brackets and fills the Minute, Hour, Day, Month and Day of the week fields for you.
- For a custom schedule, choose Customize and fill in those five fields yourself. Each one accepts the usual cron notation: a number, a comma-separated list, a range with a dash,
*, or a step such as */5, within the ranges shown under the field (for example 0 to 59 for minutes, 0 to 23 for hours).
- In Script to run, click Browse, pick your script in the tree of your hosting, then click Select. The path shown starts with your account's folder: you only type the rest, for example
/crons/cleanup.php.
- Click Save. You go back to the list, where the task now appears.
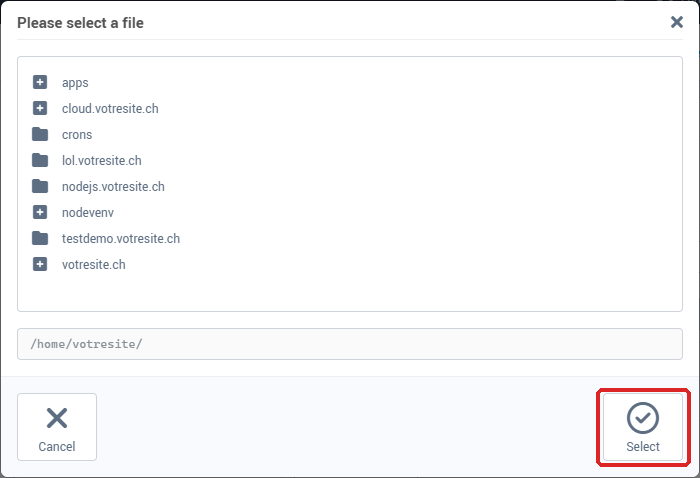
The path must start with /, point to a file (so it cannot end with /) and contain no .. or . segment.
Receive your scripts' messages
- In the list, click Notification address.
- In the Edit notification address window, enter an E-mail address.
- Click Save.
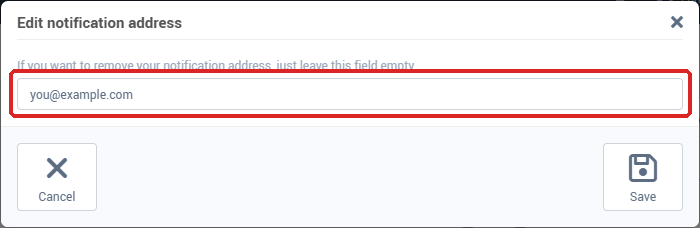
This address is unique and applies to all your tasks. To stop receiving anything, empty the field and save: whatever your scripts print is then ignored again.
Edit or delete a task
- Edit: in the list, click the script's path. The form opens with the current values; change what you need, then click Save. The Planning field shows Customize when the five fields match none of the schedules in the list.
- Delete: tick the task or tasks, click Delete, then confirm with Yes. Deleting a task does not delete the script itself.
Troubleshooting
- "The configuration of the scheduled task is not correct, please check the fields below.": the five planning fields do not form a complete expression. Each one must be filled in, with no space inside.
- "This value is not authorized (min */2)": the Minute field is
* or */1, meaning every minute. Use */2 at the very least.
- "The path of the script to run must point to a file.": the path ends with
/, so it points to a folder. Pick the file itself with Browse.
- An error message under the Script to run field (for example "This directory is not authorized" for a
. segment): the path does not start with /, or contains a .. or . segment. The simplest fix is to pick the file with Browse.
- The task is saved but nothing happens: check that the script is executable (
755 permissions), that it starts with the right #! line, and set a notification address to read its error messages.
- An error with a code is shown ("An error occurred during the operation. Error code: ..."): note the code and send it to our support along with your domain name.